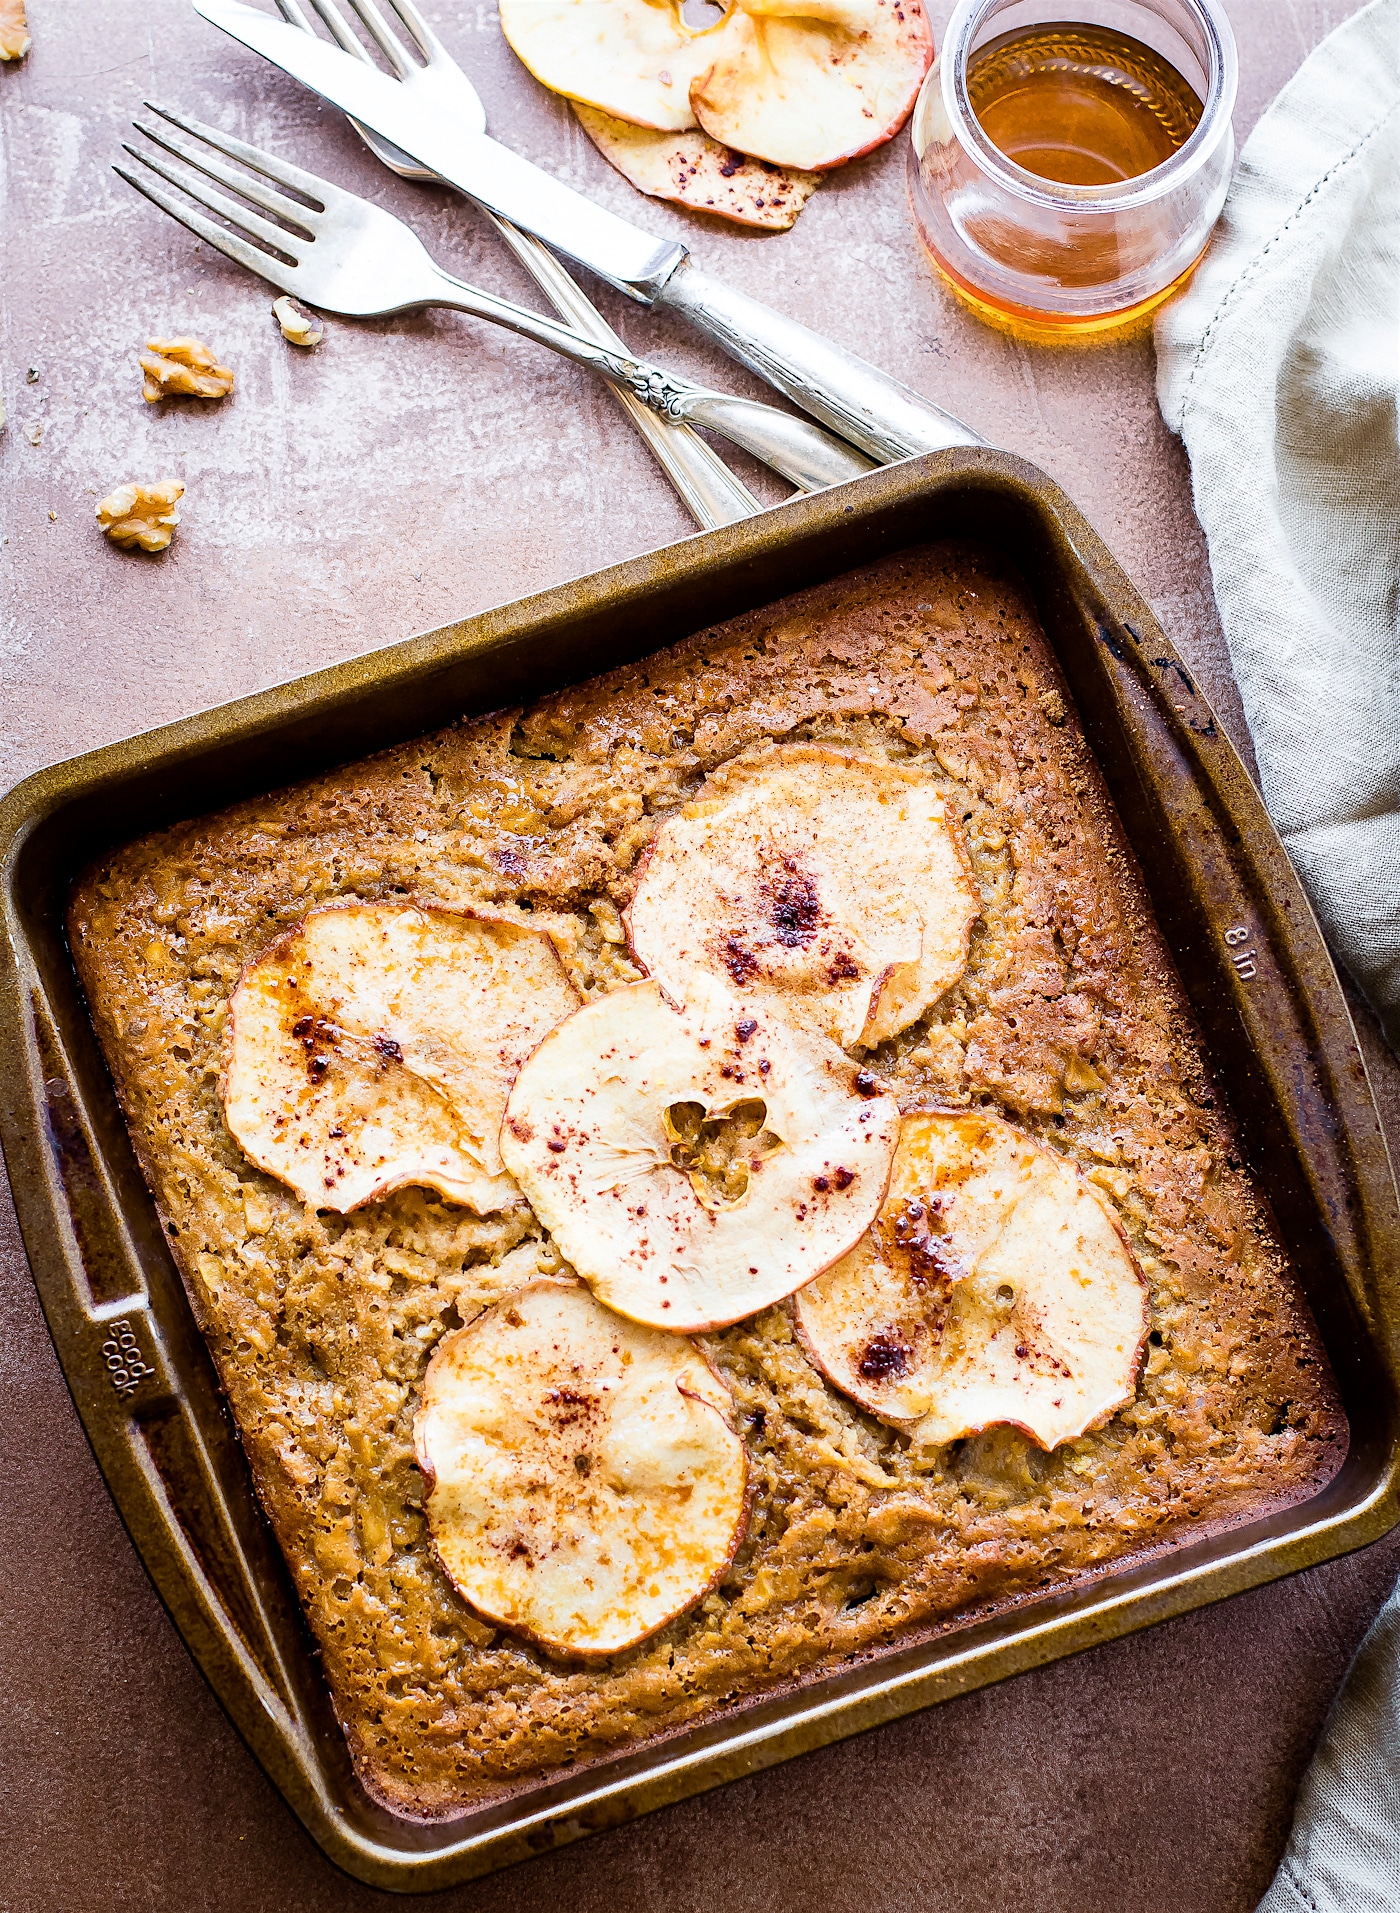
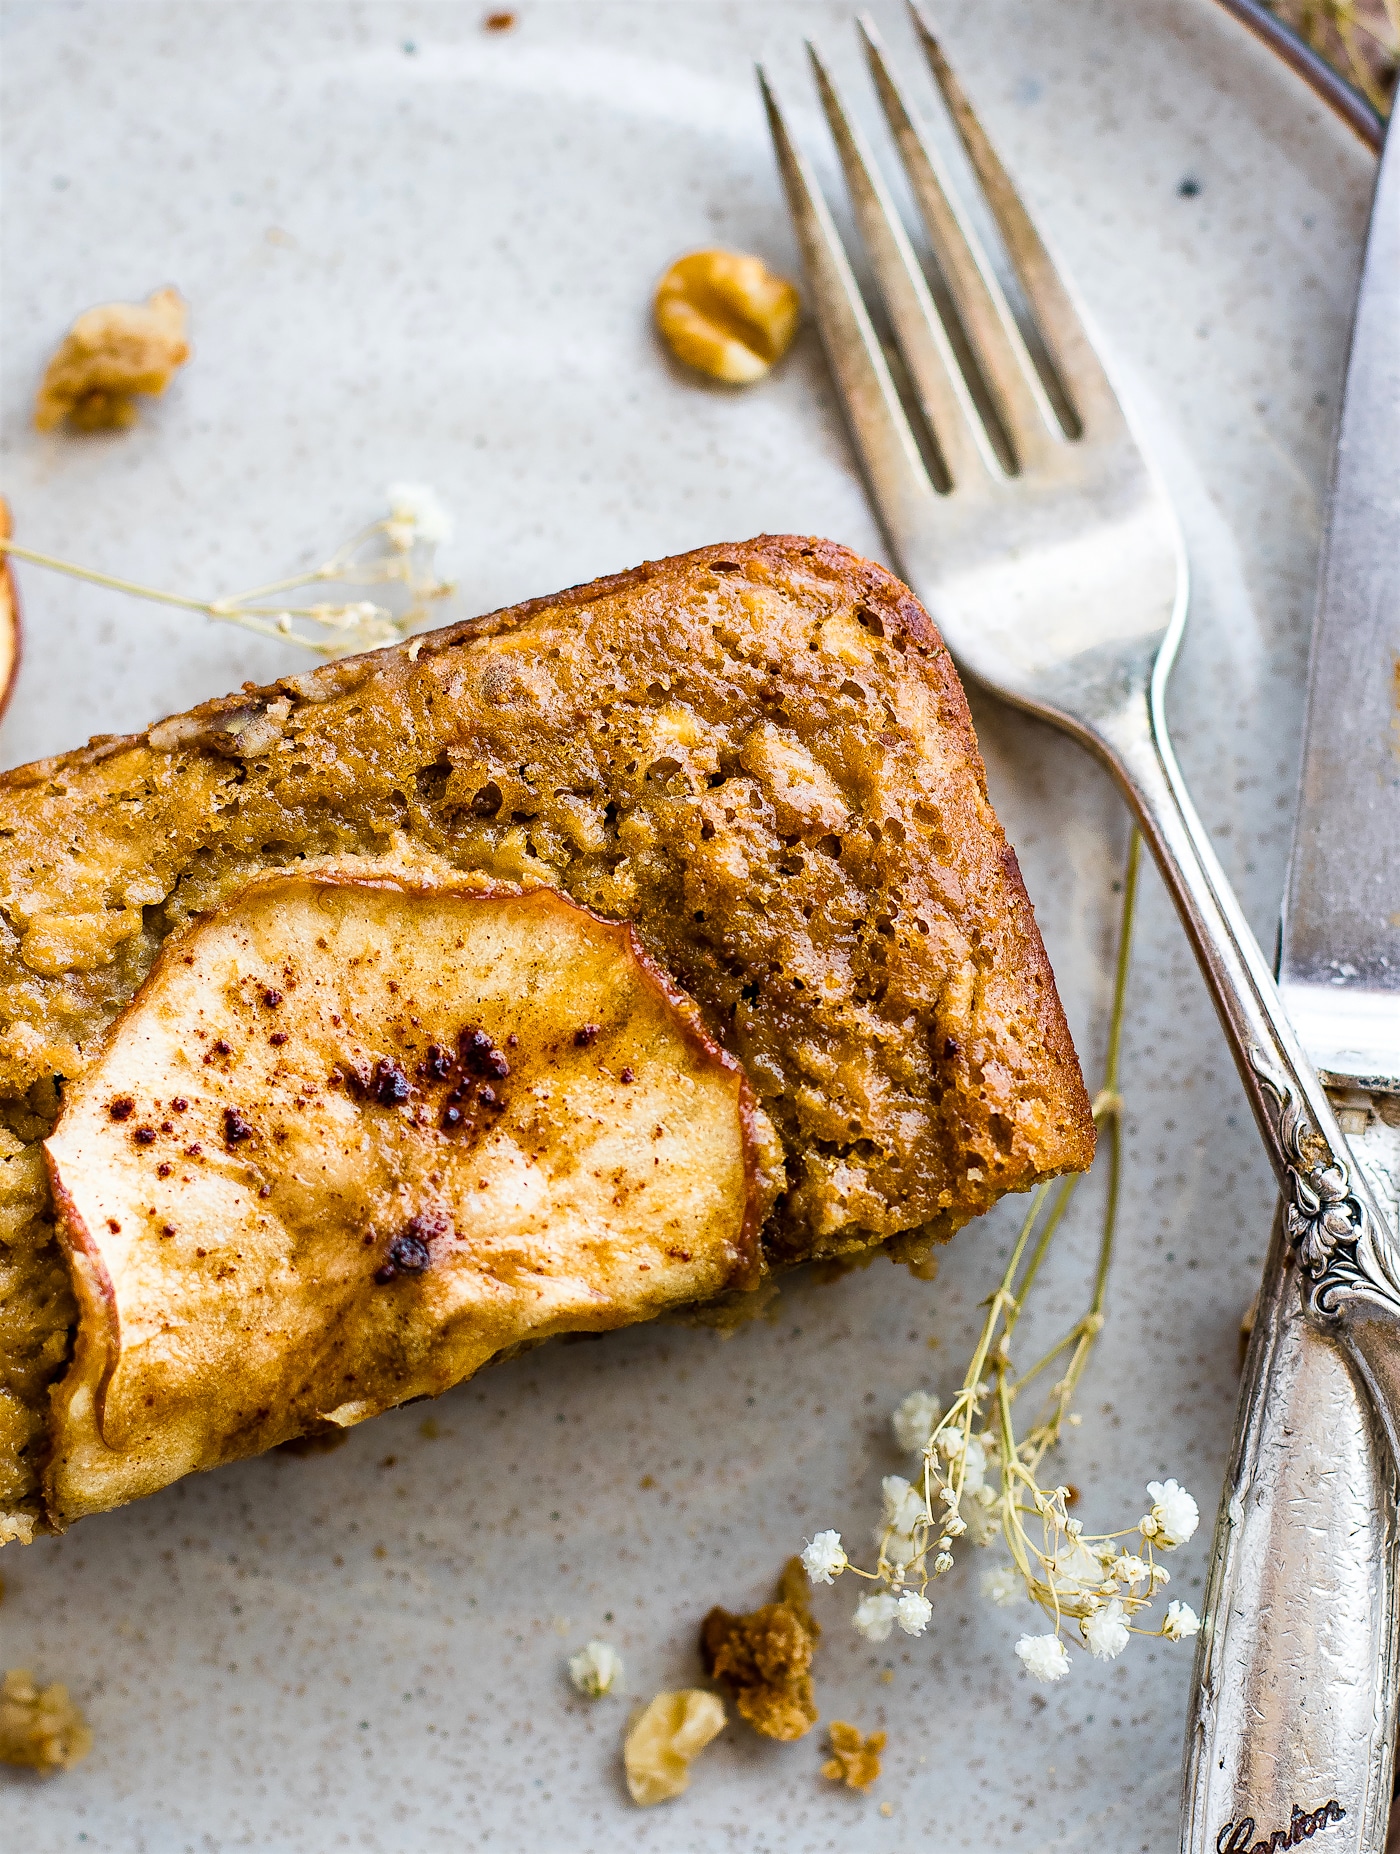
Need a quick healthy Breakfast recipe? Try this deliciously tasty Vegan Apple Pie Peanut Butter Mug Cake! A vegan mug cake that taste like dessert! Grain free, gluten free, kid friendly, and ready in less than 2 minutes.

Over the past month I’ve made over a dozen mug cakes. No joke! I’ll explain in a minute, but first. Let’s talk about mug cakes. Wish I would have been the one to invent them. Yes, they are super duper handy and tasty. Alas , I did not. But I did invent a vegan mug cake that taste like apple pie and peanut butter combined. Like for reals.
And speaking of FOR REALS! Oh boy have things changed this past year. You all know this. New career. New schedule. New meal plans and trying to get a eat a variety of gluten free foods. That being said, mug cakes have become our best breakfast buddy. They are super quick, healthy, gluten free, and . pair well with coffee of course. My last mug cake creation was made up of banana, quinoa, egg, and chocolate. Yup. Good stuff y’all! This time around, I was aiming for a vegan friendly mug cake. Or rather, one that didn’t need eggs. We love eggs, but if I go over board on egg consumption, I tend to develop more of a food sensitivity too them. Oh that’s a topic for a whole other day. So I think it’s important to vary the type of food you eat. Capeesh?
Anyway, where was I? Oh yes! I had absolutely no problems making this apple pie peanut butter vegan mug cake. Despite the long technical sounding name. Haha.

It’s quite simple and boy does it make for a delicious breakfast cake in the morning. Ya’ll, Think of this as Apple pie meets peanut butter cookie meets muffins. All made in under 1 minute. Hallelujah praise the chemist Gods! A dessert style vegan mug cake made with simple kitchen items. Not to mention AWESOME organic ingredients from my friends at Better Body Foods!


And quite tasty I might add…
Here’s what you need!
- Apple Cider Vinegar
- Apples
- Peanut flour – If you’re looking for an awesome peanut butter flour, then check out Better Body Foods PB Fit Peanut Flour. It’s what I used here and it’s available online and at Walmarts nationwide!
- Coconut sugar
- Melted coconut oil
- Coconut flour
- Vanilla extract
- Water
Uhh.. That’s it, all you need for instant cake ya’ll! Grain free and vegan. Soooo flipping good!
You see, when you take an acid (think Apple Cider Vinegar) and a base (think Baking Soda) and combine it with oil and water (a neutralizer), then eggs are not needed. You can create a fluffy voluminous cake with theses leaveners. But the key is getting the right amount of each so that the bubble triggered by moisture and/or heat. Oh my gosh, was that too much nerd talk or what?

Either way, if you have food allergies, it’s always good to know what you can do to replace eggs, dairy, grains, etc. within a recipe. Right? Mug cakes are good recipe to start experimenting with. Plus I love how simple this one is. And like I mentioned before, the apples, spices, and peanut butter combined make this vegan mug cake taste like a Starbucks danish coffee cake on crack. Or maybe I’m exaggerating.. no, no I’m not.
So now you’re probably thinking. “That’s great Lindsay, thanks for the lecture on vegan mug cakes. Now I’m brain dead. But why the heck did you make 12?”
Or maybe your not thinking that and you just know I’m a weirdo. Well that too.
The reason why I have such a hard time with this vegan apple pie peanut butter mug cake was actually quite comical and had nothing to do with the recipe. In fact, it was just my OCD tendencies.
Yes…. The food styling.

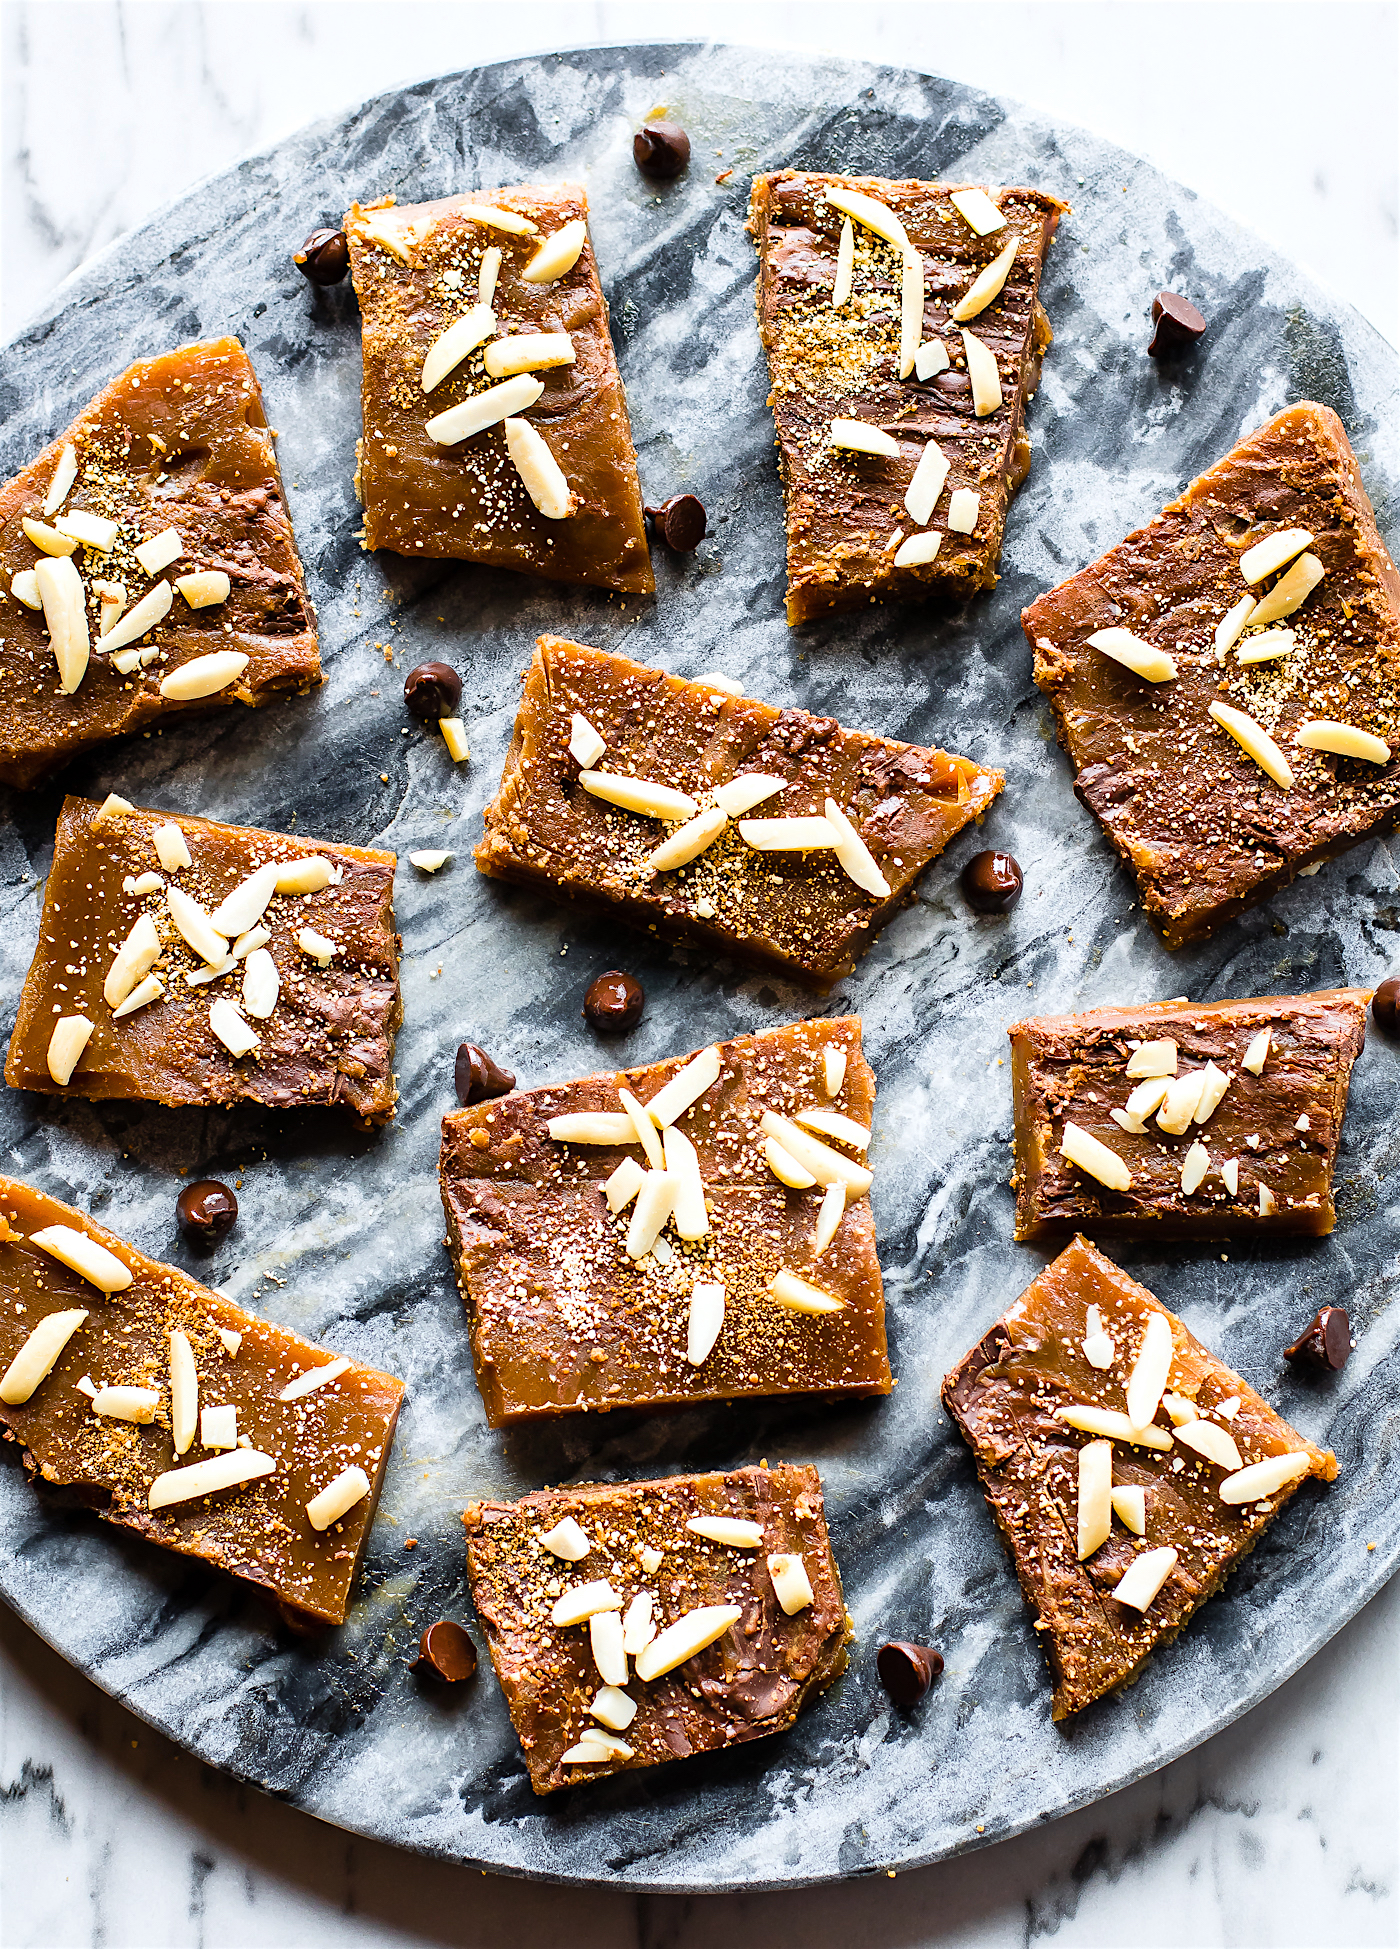
Ugh, My nemesis when it comes to blogging. I cannot for the life of me figure out how to make a vegan mug cake look simple yet still pretty. Guys, you know I’m all about the pretty food factors. First world problems. Needless to say, 12 microwave vegan mug cakes later and I took at least one picture I like. 12 vegan mug cakes made in less that 15 minutes. That’s pretty impressive though, right? Definitely feeds my apple pie and peanut butter dessert obsessions appropriately. Plus, making 12 mug cakes all at once made for perfect breakfast meal prep and a happy husband who didn’t have to go looking for breakfast come 5am. Haha now that’s winning!
Friends, whether you are a nutrition nerd, in need of a super quick vegan/grain free breakfast, or a kid going back to school, I gotcha your latest food obsession covered. All in just a few minutes.
Yields 1
Vegan Apple Pie Peanut Butter Mug Cake! A vegan mug cake that taste like dessert! Grain free, gluten free, ready in less than 2 minutes.
2 minPrep Time
2 minCook Time
4 minTotal Time
 Save Recipe
Ingredients
- 4 tbsp peanut flour (see notes for alliterative)
- 1 tbsp coconut flour (fine)
- 2 tsp cinnamon
- 1/2 tsp Apple Cider Vinegar
- 2-3 tsp coconut oil (make sure it's melted or in liquid form)
- 1/4 tsp vanilla extract
- pinch of salt
- chopped apple (1-2 tbsp)
- 1/2 to 1 tbsp coconut sugar (adjust to your liking)
- 5 tbsp water
- chopped nuts
- cinnamon sugar or maple sryup
- melted peanut butter 2 tsp
Instructions
- First chop an apple or place in food processor. You only need a little bit so save the rest for another mug cake later.
- Next place all your dry ingredients plus apple in a bowl. You could use the mug you are using but I find that it mixes more evenly in a small bowl first.
- Then place your oil, vinegar, and extract in three different spots on top of the dry mix.
- Pour your water on top and gently stir. You will see a few bubbles.
- Pour this mixture into large mug that has been greased or oiled.
- *Notes: * Since the peanut flour and coconut flour are thick, you will need to press this mixture down into the mug with a spoon or hands, gently.
- Microwave on high for 90 seconds to 2 minutes depending on your power. Check at 90 seconds if you want to be sure it's rising.
- Remove from microwave, let it cool a minute.
- Flip over onto a plate.
- Drizzle with a few 2 tsp of melted peanut butter, a 1/2 tbsp chopped nuts, and either a cinnamon sugar or maple syrup.
- feel free to add more apple on top too!
- DIG IN!!
- Repeat for another. Go for it!
- These keep well in fridge all week and are great for snacks!
- Place
Notes
If you don't have peanut flour, try a gluten free flour or a vegan pea protein.
Start off with microwave 90 seconds. Adjust time from there depending on your microwave power.
Nutrition Estimate without the Topping.
It also depends on the peanut flour/powder you use.

Apple Pie Peanut Butter Mug cakes are where it’s at! Do it, try it, add the extra peanut butter sauce, make it look pretty, whatever you fancy. But most importantly, feel HEALTHY!


And that will conclude my corny Cotter moment.
This tasty Apple Pie peanut butter Vegan Mug cake recipe creation is sponsored by my friends over at Better Body Foods! Thank you for allowing me to share their wonderful products and talk about this caring company.
#Vegan Apple Pie Peanut Butter Mug Cake! Dessert for breakfast! #grainfree @betterbodyfoods
Click To Tweet
Keep up with the Better Body Foods on social media. They are full of recipe inspiration! Facebook, Twitter, Instagram, Pinterest
What’s your latest obsession? Have you tried vegan baking a dessert style vegan mug cake?
p.s Love this article on baking leaveners and how to use them. Super helpful tips!

KEEP ME POSTED ON YOU! LET’S STAY CONNECTED. SO VIA FACEBOOK, INSTAGRAM, PINTEREST, AND TWITTER.

The post Apple Pie Peanut Butter Mug Cake {Vegan, Grain Free} appeared first on Cotter Crunch.


The kiwi and I LOVE chicken apple sausage. For one,they are sweet and savory, the best of both worlds. These Chicken Apple sausages (in particular) are just made for breakfast. Hence the whole breakfast break idea. But what I also love about Al Fresco’s apple sausage is the real food ingredients. Ahhh, makes me feel so good just reading the simple ingredient list.
They casein free, gluten free, dairy free, and made with pure Vermont maple syrup and unsulphured apples. Which makes them great for those who are intolerant to casein or have a sulphite sensitivity!
Light in calories and made with lean, skinless chicken meat. Oh and the fact that they are FULLY cooked to begin with is super duper handy, don’t you think?
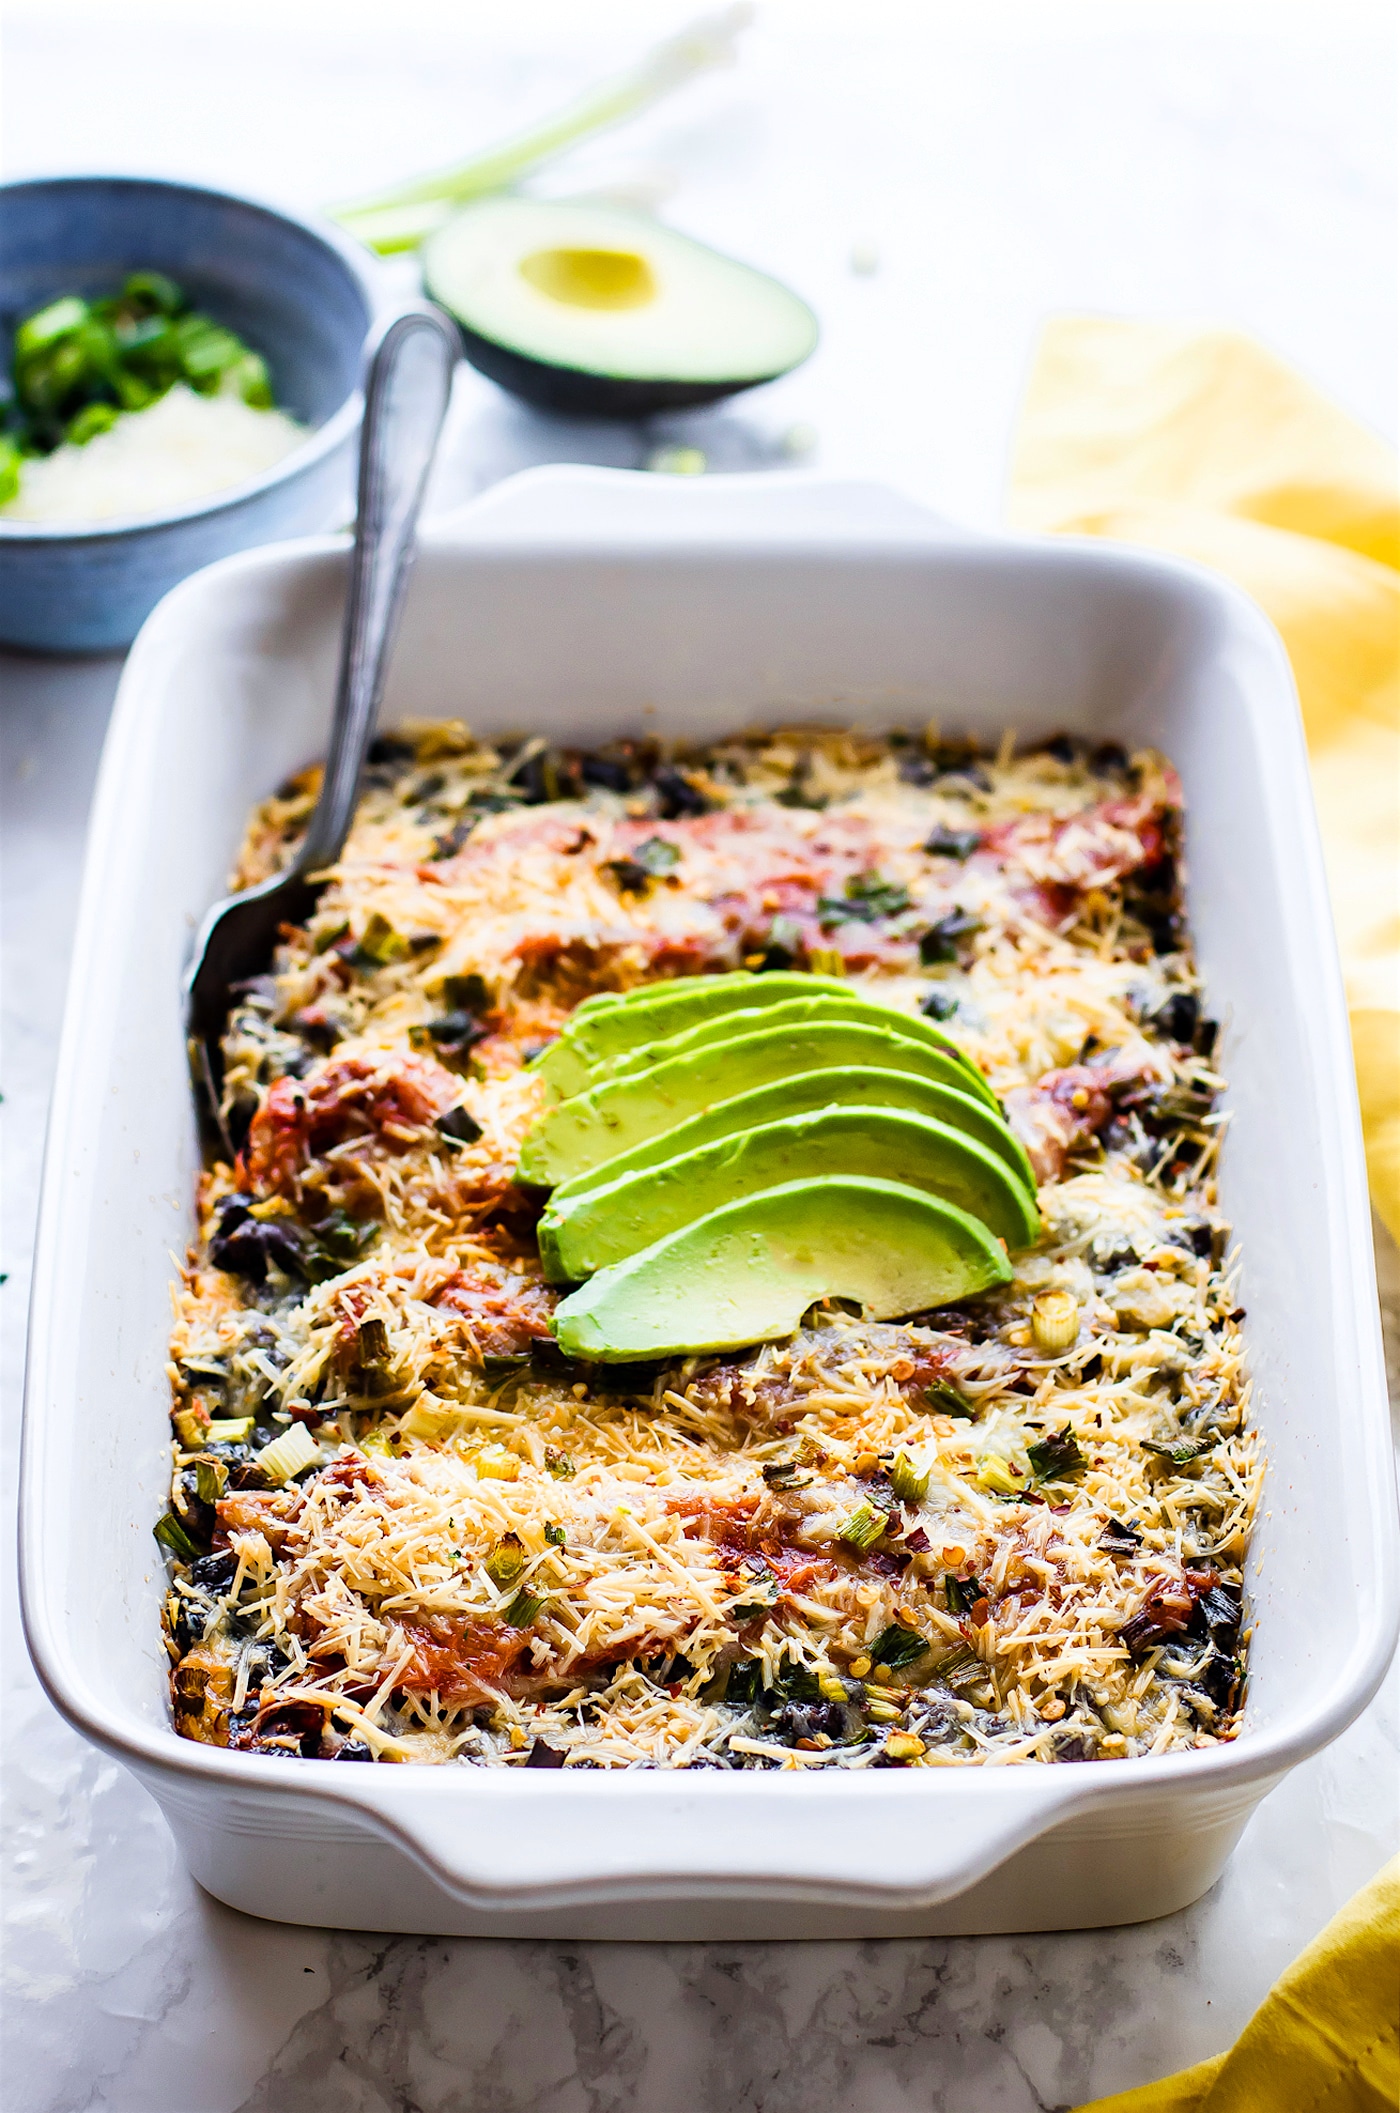
Which is what makes this apple sausage breakfast bake EVEN MORE super duper easy. Oh yea people, we are combing convenience with healthy delicious WHOLESOME food!
Alright, ready to rock and roll this Fall inspired breakfast? I should *note* –> this is so easy to make PALEO. Just use your go to paleo pancake mix or flour (almond/coconut).
Yields 8-9
15 minPrep Time
43 minCook Time
58 minTotal Time
Ingredients
Instructions
Notes
If you don't have pancake mix, feel free to use a gluten free multipurpose flour or a paleo flour mix. Be sure to add in 1-2 tsp baking powder if the mix doesn't have it already in there. Baking times might need to be adjusted. Check at 30 minutes to be safe.
additional toppings You can also serve this with baked apple sliced on top of this instead baking fresh on top. Just slice apple sprinkled with cinnamon and baked on a greased baking sheet at 350F for 20 minutes. Bother topping work great!
Nutrition per slice
Yes, this is one EPIC FALL WHOLE MEAL breakfast bake! I mean, what’s not to like? Sweet, savory, easy, protein packed, and of course…. portable.
I wasn’t lying when I said it’s like breakfast sausage and apple pancakes all wrapped up into one dish.
Booya!
Ever tried apple sausage or any other breakfast style chicken sausage? Favorite way to eat it. Do tell! mmk?
#Glutenfree Apple Sausage breakfast Bake! A Healthy EASY one pan breakfast! @alfrescogourmet
Click To Tweet